
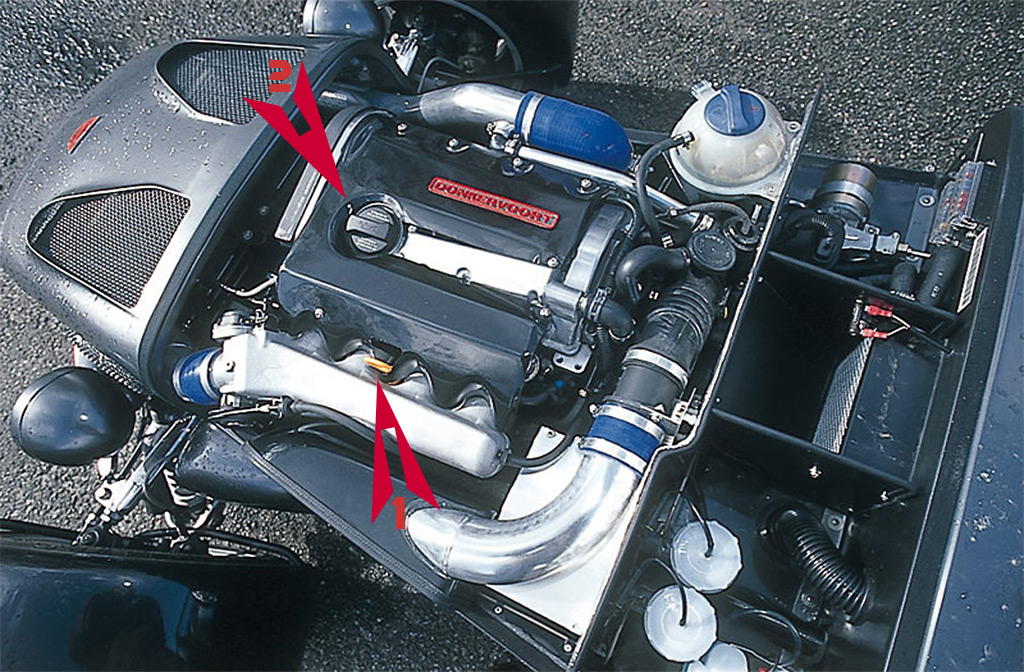
Checking the oil level
It is normal for the engine to use up oil. For this reason the oil level should be checked every time the vehicle is re-fuelled and before any long journeys. The vehicle should be parked on horizontal ground when you are checking the oil level.
Once the engine has been switched off, you should wait a few minutes, so that the oil can run back into the oil sump.
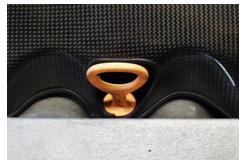 Remove the oil gauge from the motor, wipe with a clean cloth and replace it.
Then remove the oil gauge once again and note the level of the oil.
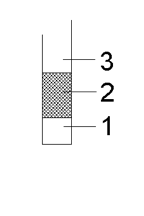
Measuring range on the oil gauge
- The oil level is under the grid pattern on the gauge: Oil must be added. Advise can be found here. While measuring it is also possible to measure the current technical status of your engine using Motor Check-up. We have them available for you.
- The oil level is halfway down the grid pattern: Oil can be added. If you do so, ensure that the oil level does does not exceed the grid pattern on the gauge.
- The oil level is above the grid pattern on the gauge: Oil may not be added (it can potentially harm your engine oil seals).
Topping-up the engine oil
Remove the oil-filler cap from the engine by turning it counter clockwise and refill the oil in increments of 0.5 litres. After each increment, check the oil level using the oil gauge.
Replace the oil-filler cap carefully and replace the oil gauge fully in the engine.
Upgrade option

Note: The plastic oil gauge can deteriorate over time.
There are durable full aluminium sets available as an upgrade for the rather poor OEM Audi version!


One thought on “Donkervoort D8 operating manual – Measuring range on the oil gauge”
Comments are closed.