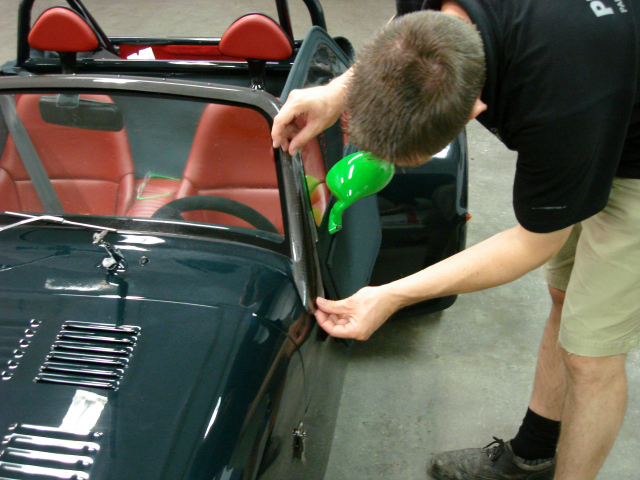
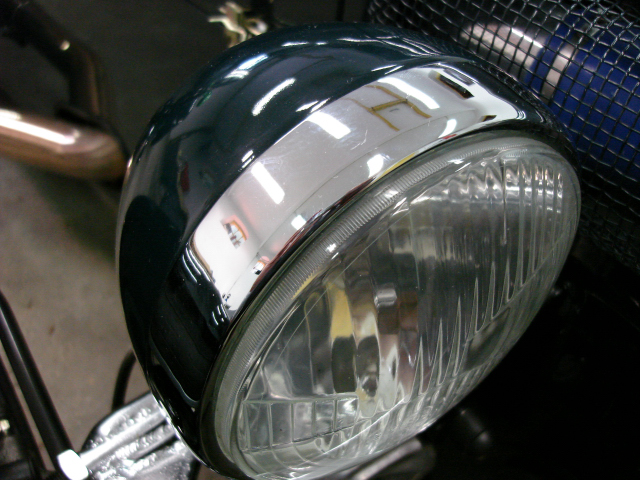
Paint protection film, or “clear bra” as it is sometimes known, is one of the best ways to preserve the showroom quality finish on your Donkervoort. The virtually invisible film will keep your Donkervoort looking newer longer- without changing the design features or color- by protecting vulnerable areas such as nose cone, hoods, mirrors, cycle wings, rear wings etc. Preserving the finish of your vehicle with paint protection film (PPF) keeps your Donkervoort looking newer longer, and can enhance the resale value of your vehicle in the future. Here is how to Install 3M Paint Protection Film on your Donkervoort.
Installation
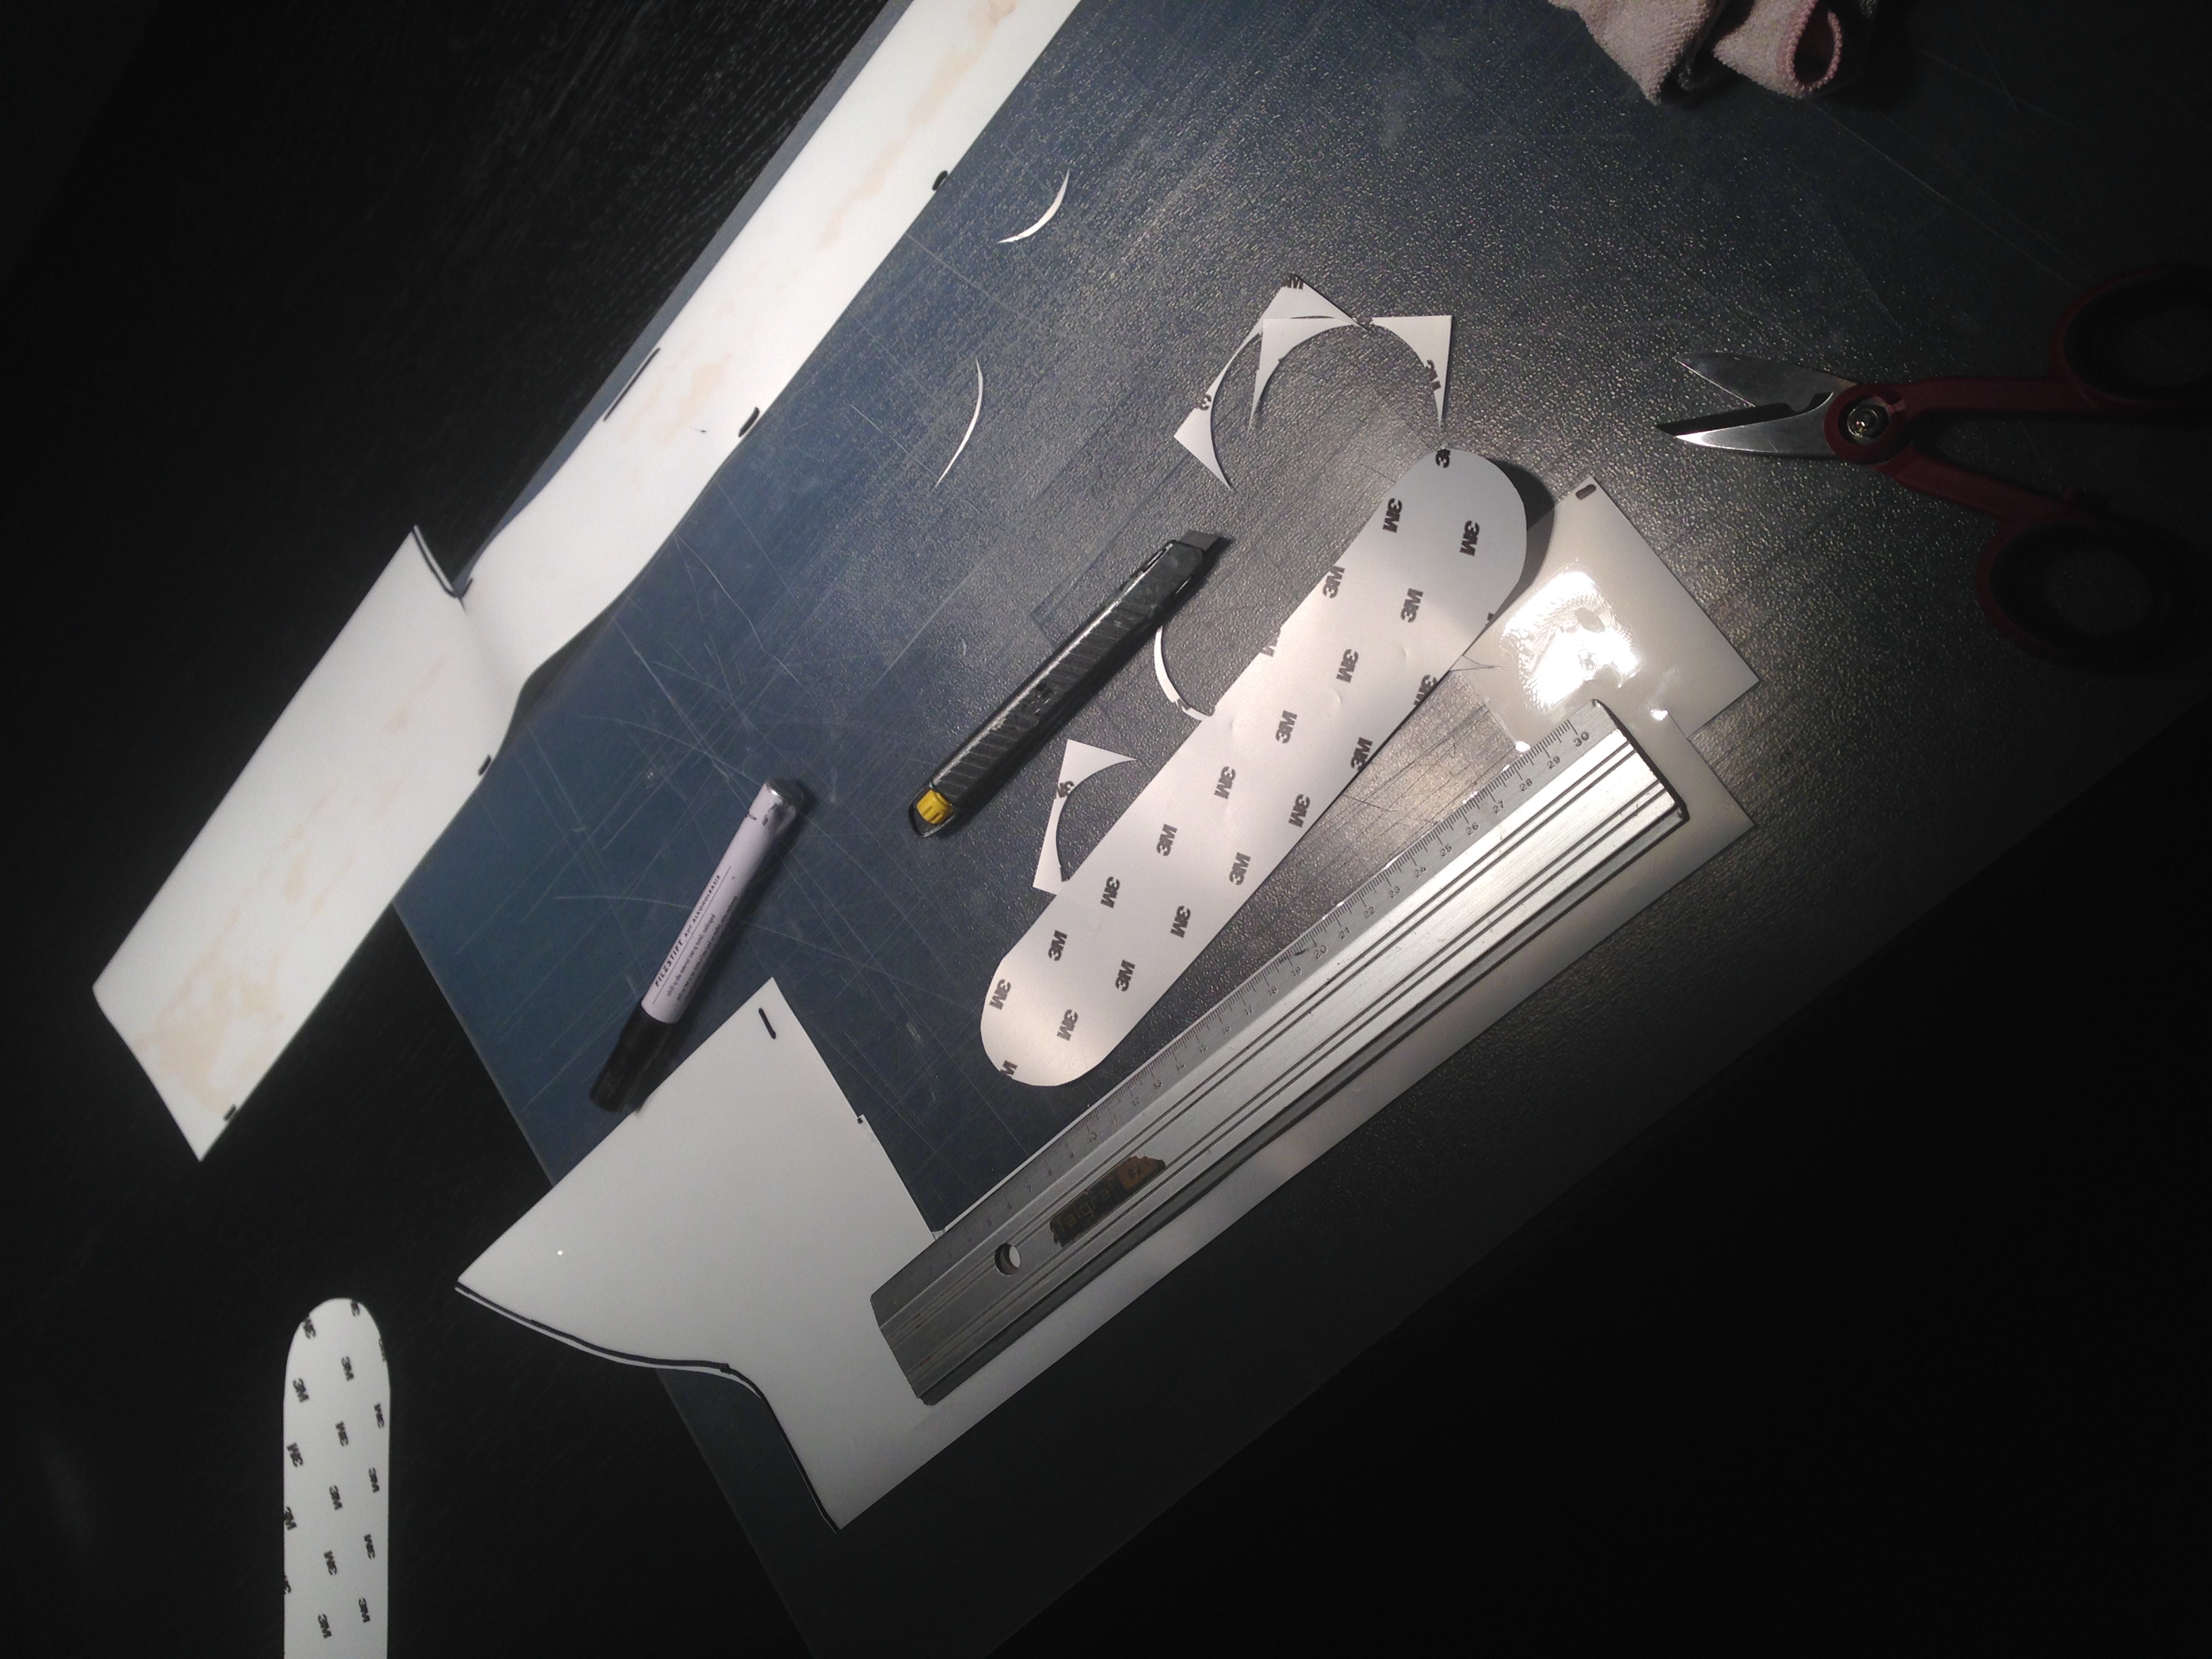
Supplies Needed:
- 2 Spray Bottles
- Baby Shampoo
- Isopropyl Alcohol
Prep the Donkervoort
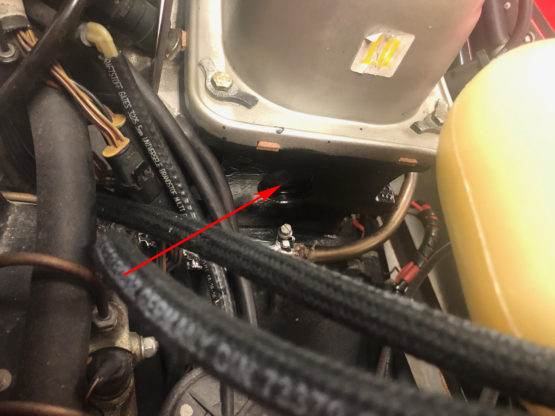
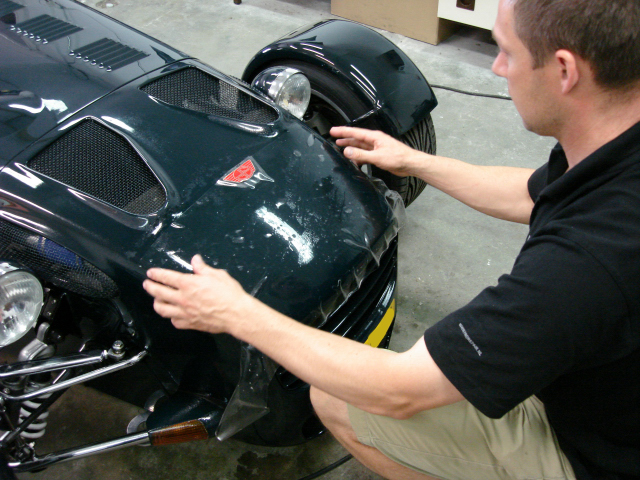
Note: Stone chips must be treated before applying the 3M film. Watch this movie with preparation of the nose cone @ 1:52
STEP 1
Thoroughly spray the front of the nose cone with the soap & water solution.
STEP 2
Peel the protection film from the adhesive backing, making sure to soak it in the water & soap solution as you are removing it.
STEP 3
Place the film over the nose cone aligning it to the front edge and side edges of the nose cone. Lift up the edges of the film and spray the alcohol/water solution under the film. This will allow the adhesive on the film to become tacky, allowing you to stretch the film tithe edges.
STEP 4
Once you have the film stretched to the edges of the nose cone, use the supplied squeegee and remove all of the air bubbles by pushing them out towards the edges as shown.
STEP 5
Once the edges of the nose cone are free of any air bubbles, use the squeegee to remove any bubbles from the center section. Be sure to work from the center out and be gentle to avoid tearing the film.

This completes the installation of your 3M Paint Protection Film. Do not wash vehicle for 24 hours after application.
Note: Never use pigmented or paste waxes on the film.